Lighter, Tighter and (Perhaps) Crazier –
Like chairmakers John Brown and Jennie Alexander, I feel the same pull. Not toward death, necessarily, though that does begin to weigh on my mind during every long project.
Instead, I feel the pull toward making my chair components lighter and lighter. As I look back at my chairs during the last 19 years (going back to my Arts & Crafts frame chairs), it’s obvious. My seats have been getting slimmer, as have my sticks and legs.
It’s been a slight change here and there. But I feel like I’m trying to make the chair disappear as much as possible.
The other side of this coin is that I know I need to cut or rive my material so the grain is perfectly straight for legs and sticks. And the joinery has to be as close to perfect as I can manage.
One example of how I achieve this: During the last year I have changed how I fit my sticks. I don’t teach it this way – it’s just too nuts. (I have a different way to get the fit I want with students.) But here it is for you to mock. Or perhaps take something away from it.
Compressing Tenons in Stages
My goal is to get the tenon compressed so it goes easily into the mortise with light hammer taps and little risk of everything snapping or splitting. But then I use the heat and moisture in my glue to lock the joint up.
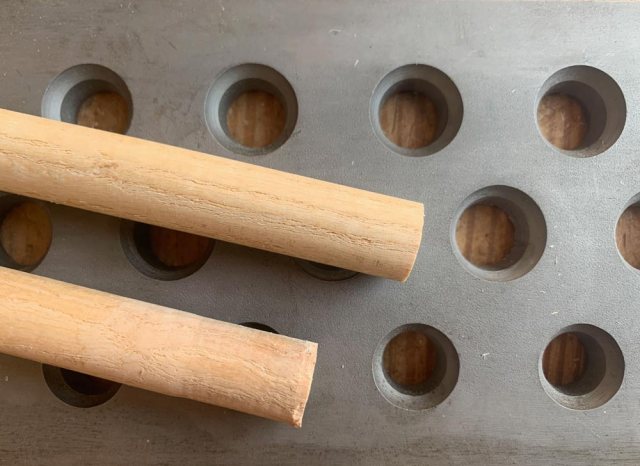
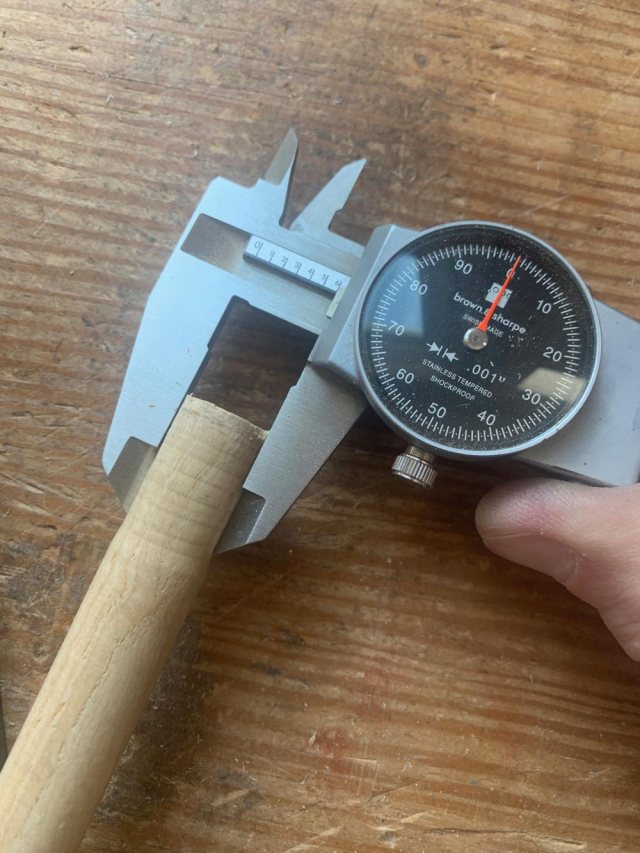
Here are the numbers and the process. The sticks I make end up at .635” in diameter after they are scraped. And I want them to go into a mortise that is .600” in diameter (I grind my spade bits to a custom size).
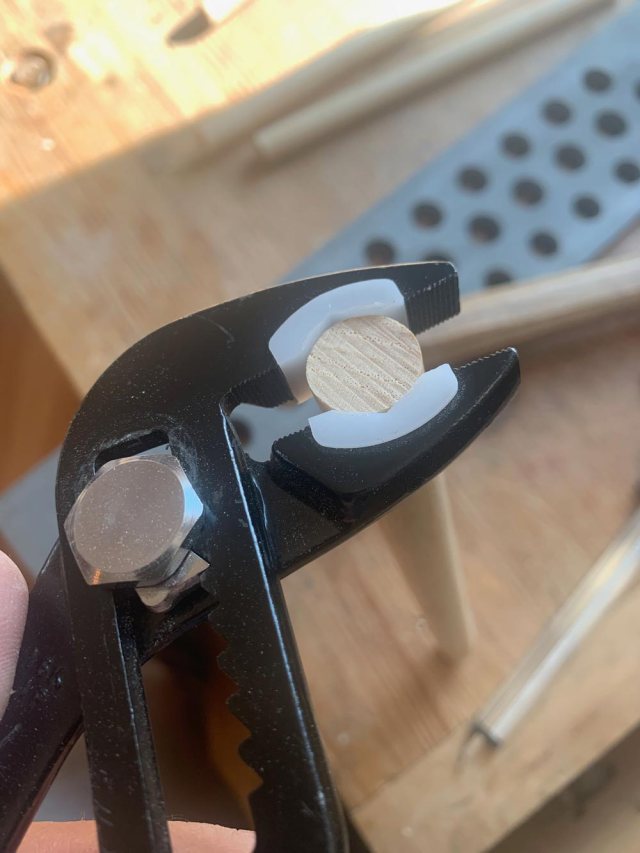
The first step is to take my non-scratch pliers and compress the tenon evenly and as much as possible. This will usually take an ash or oak tenon down to .625”.
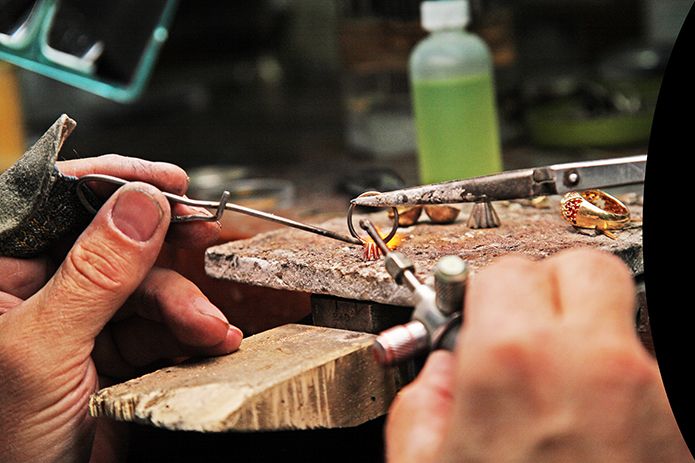
Then, and this is the crazy part, I drive the tenon into a wire-drawing plate. The plate shown is a crazy heavy plate used in the jewelry industry. It allows me to size tenons to 1/10 of a millimeter. That’s way more holes than anyone needs. If I had to do it again, I’d get a machinist to make me a steel plate with a couple holes with a chamfered rim.
This is not a dowel plate. I drive the tenon in on the chamfered side of the hole so it doesn’t “skim” the tenon. It simply compresses it.
With my wire-drawing plate I get my tenons down to .600”.
Now it’s time to assemble. I’ve done some experiments by adding hot glue and water to these tenons and they swell up initially to .610”, which locks the joint. Then, after a few hours, they settle down at .615” or so (yes, they continue to expand a bit).
That is a great lock, and I have yet to have a mortise split apart in the last year.
I’m not recommending you go down this route. If I were you, I’d probably get the non-scratch pliers and simply compress the tenons with that tool alone. Then tune the diameter of a spade bit to give you a good lock.
But that’s where I am these days.
— Christopher Schwarz